Chrome Extension
Track time in Jibble anywhere on the web, without leaving your browser

Jibble’s Chrome Time Tracking Extension lets you easily track time from your Google Chrome browser, wherever your work takes you across the web.
This article covers:
Installing the Chrome Extension
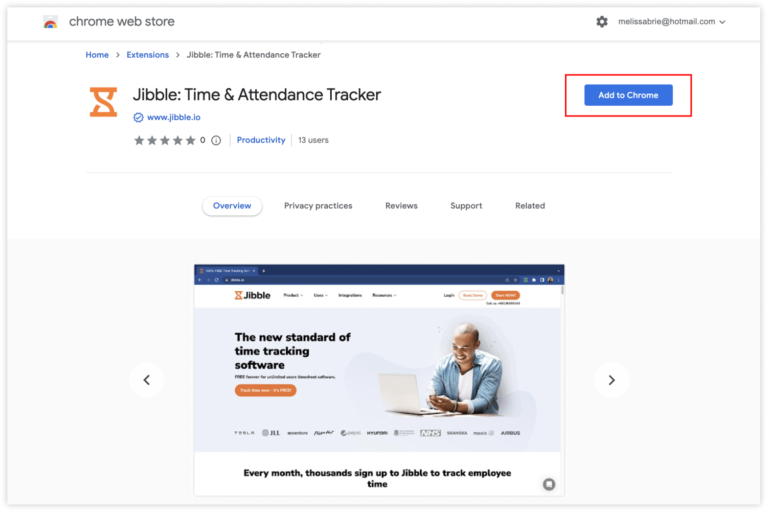
- Go to Jibble on Chrome Web Store.
- Alternatively, go to Integrations on the left navigation menu, look for Chrome Extension and click on Go to Chrome Web Store.
- Click Add to Chrome next to the extension option.

- Once the installation is complete, click the puzzle piece on the top right of your chrome toolbar to open the extension window.
- Click the little pin icon next to Jibble’s Chrome Extension to pin the extension to your browser for easy access.
Using the Chrome Extension
Icons
Once you install the Chrome Extension, a Jibble icon will be added to the right of the address bar. When the button is orange, it means you are not currently tracking time.
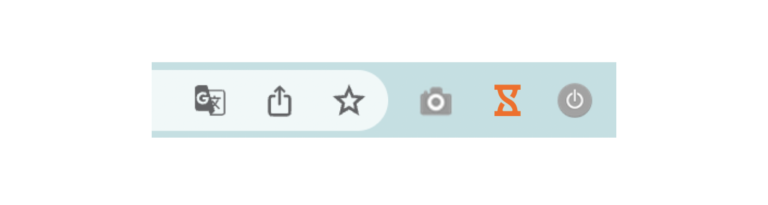
When the button is green, it means there is a time entry currently running.

Time Tracking
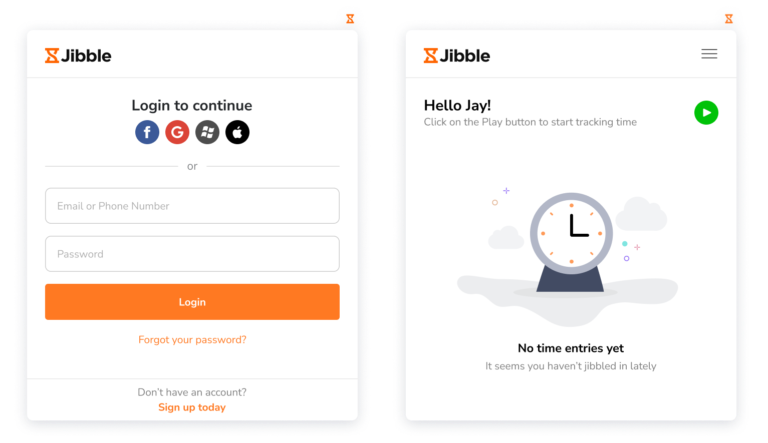
- Click the Jibble icon in the Chrome toolbar to open a timer dialog.
- If you’re not signed in to Jibble, you’ll be prompted to sign in.
- Once logged in, click on the green Play button to start tracking time.
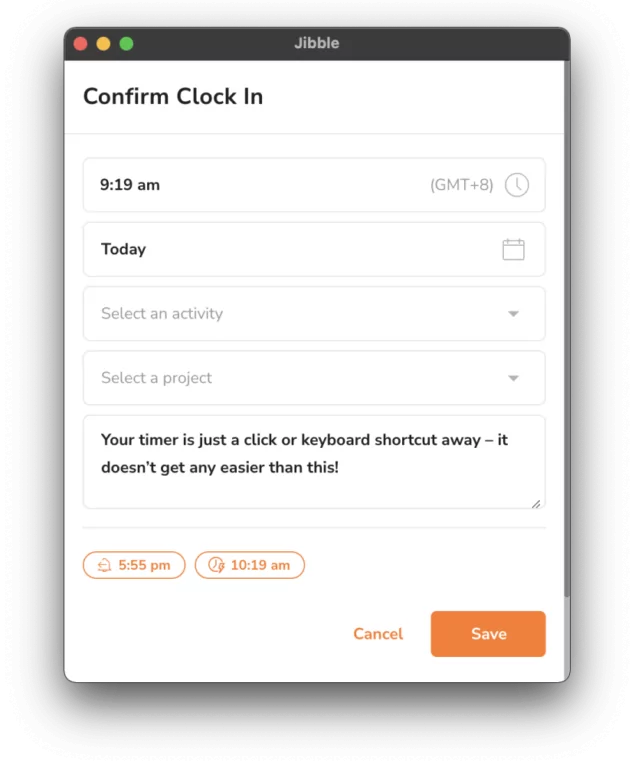
- Select an activity, project and add a note if required.
- Click Save.
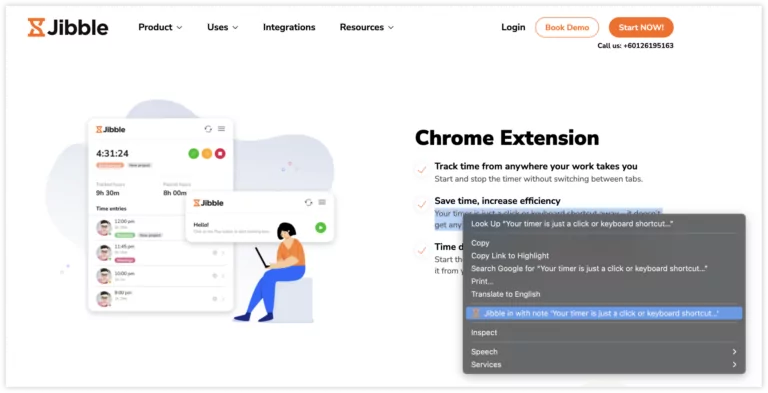
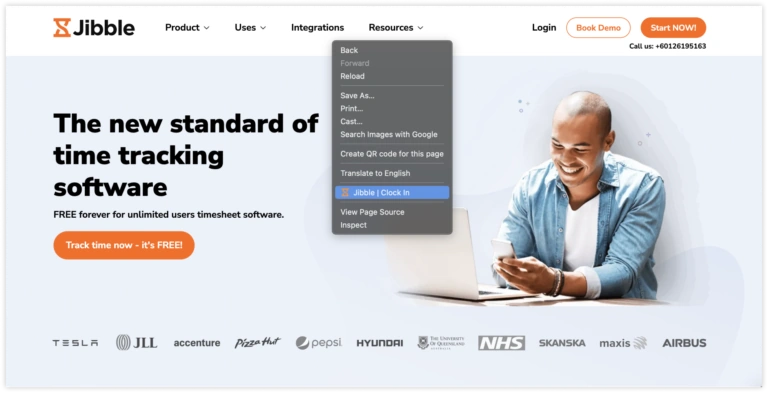
- To add a note automatically, highlight any text in your Chrome Browser, right click and select Jibble.
- The clock in screen will be displayed with your notes automatically included.
- Select an activity and project if required and tap Save.
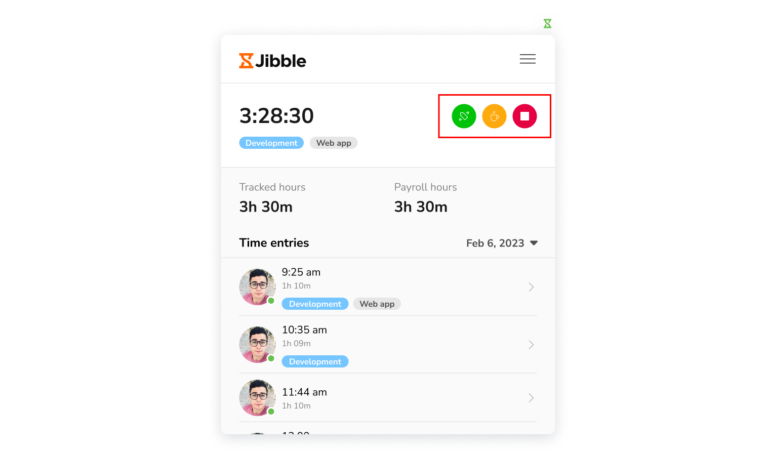
- After clocking in, you will see the different timer buttons.
- To switch to a different activity or project, click on the green Switch Activity button, select an activity and project then tap Save.
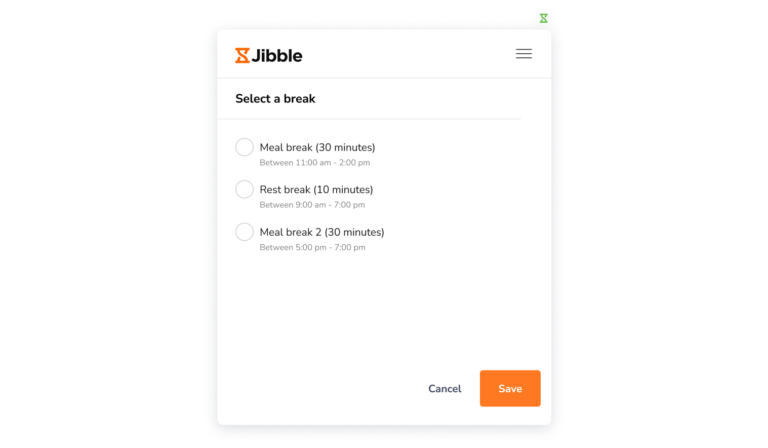
- To start a break, click on the yellow Break button, select a type of break (if multiple breaks are set) and tap Save.
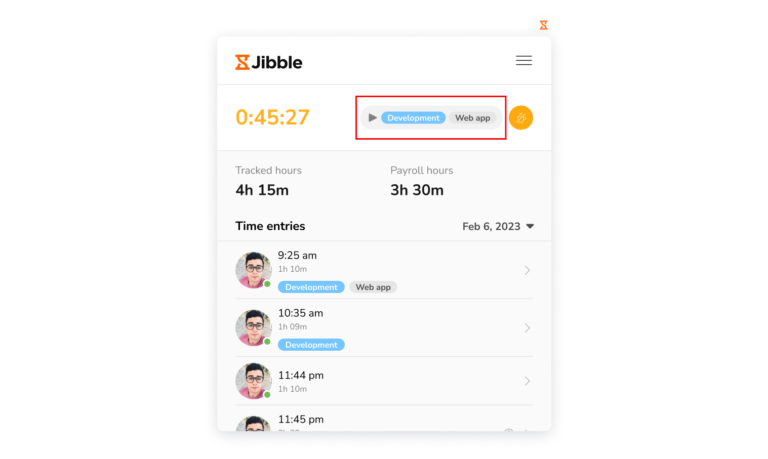
- To end a break and clock in, click on the yellow End Break button, select an activity and project then tap Save.
- Alternatively, you can click on the Resume button to resume a clock in using your previously selected activity and/or project.
- To clock out, click on the red Stop button and tap Save.

Reminders & Automatic Clock Out
To receive reminders, be sure to enable the notification channels under your account settings to receive your reminders and alerts either via email and/or mobile push notifications. Read more about reminders and automatic clock out.
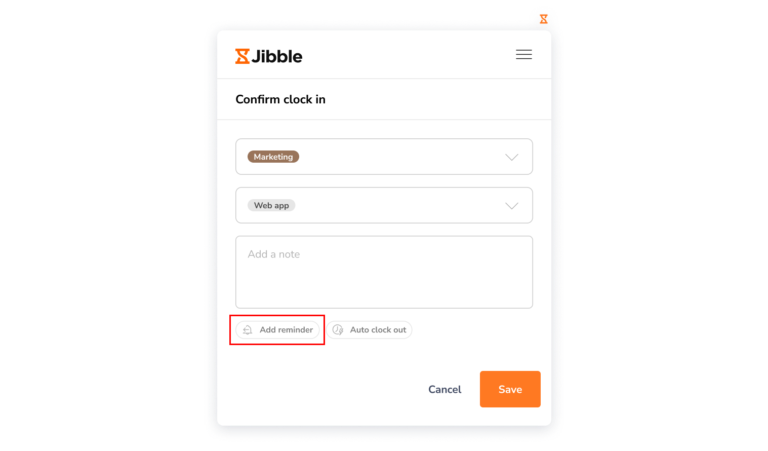
To set a reminder to clock out:
- When clocking in, you will see the Reminder badge at the bottom left side of the clock in confirmation screen.
- Click on Add reminder.
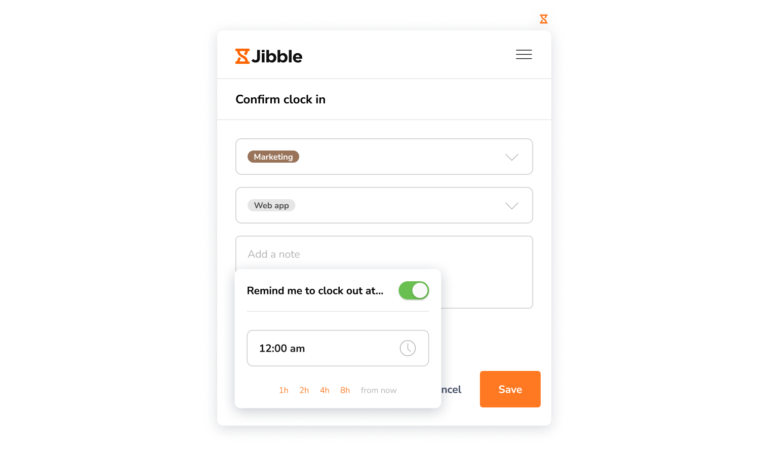
Note: If you already have reminders configured, you will see the time in which the reminder will be triggered. You can still choose to make adjustments to the time from here. - Turn the toggle on to enable clock out reminders.
- Select a particular time (eg. 5:30 pm) or select the number of hours from now (eg. 8 hours from now) to be reminded to clock out.
- Once selected, click Save to clock in.
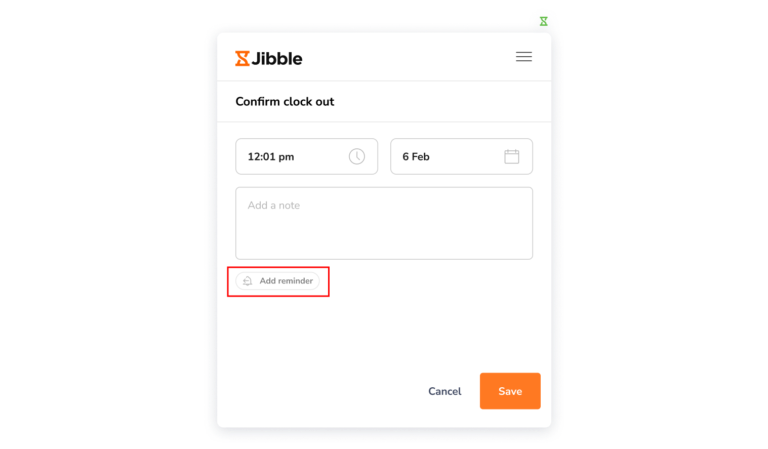
To set a reminder to clock in:
- When clocking out, click on the Reminder badge at the bottom left side of the clock out confirmation screen.
- Click on Add reminder.
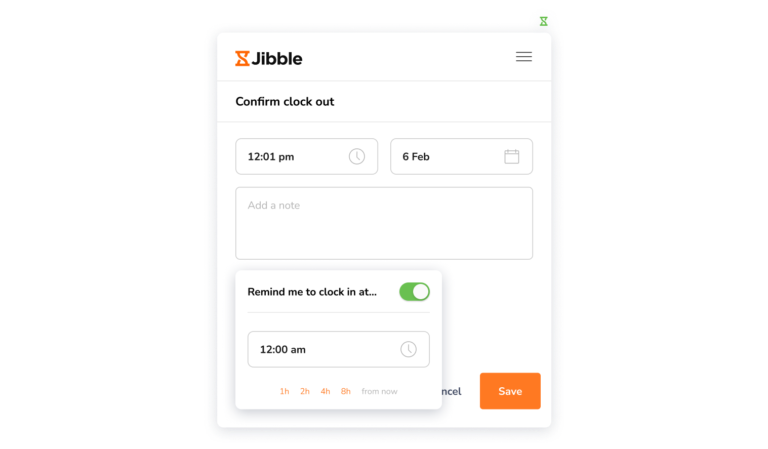
Note: If you already have reminders configured, you will see the time in which the reminder will be triggered. You can still choose to make adjustments to the time from here. - Turn the toggle on to enable clock in reminders.
- Select a particular time (eg. 8:30 am) or select the number of hours from now (eg. 8 hours from now) to be reminded to clock in.
- Once selected, click Save to clock out.
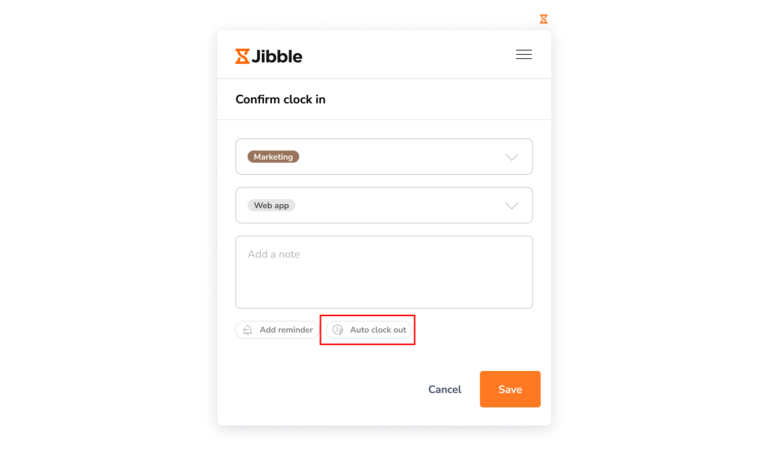
To set automatic clock out:
- When clocking in, you will see the Automatic clock-out badge at the bottom right side of the clock in confirmation screen.
- Click on Auto clock-out.
Note: If you already have an automatic clock out configured, you will see the time in which you will be clocked out automatically. You can still choose to make adjustments to the time from here. - Turn the toggle on to enable automatic clock out.
- Select a particular time (eg. 6:30 pm) or select the number of hours from now (eg. 8 hours from now) to be clocked out automatically.
- Once selected, click Save to clock in.

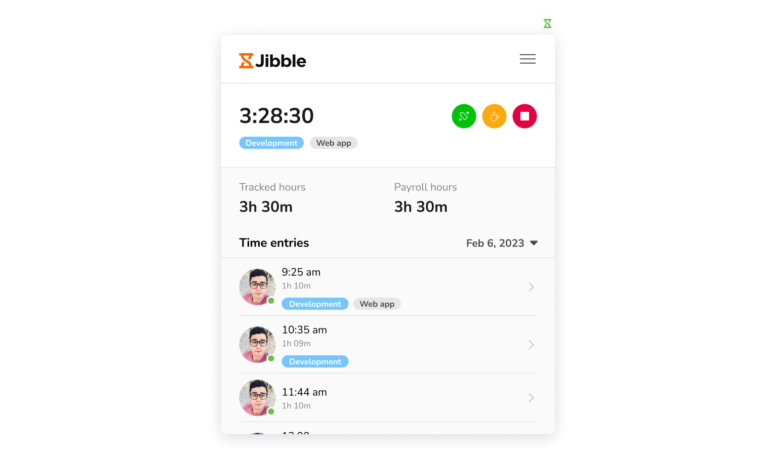
Dashboard
On the Chrome Extension Dashboard, you will be able to see your time entries, tracked hours and payroll hours for the day. To view your action logs for other days, click on the date and select a particular date from the calendar.
Account Settings
To access Account Settings, click on the three horizontal lines in the top right corner of the timer dialog.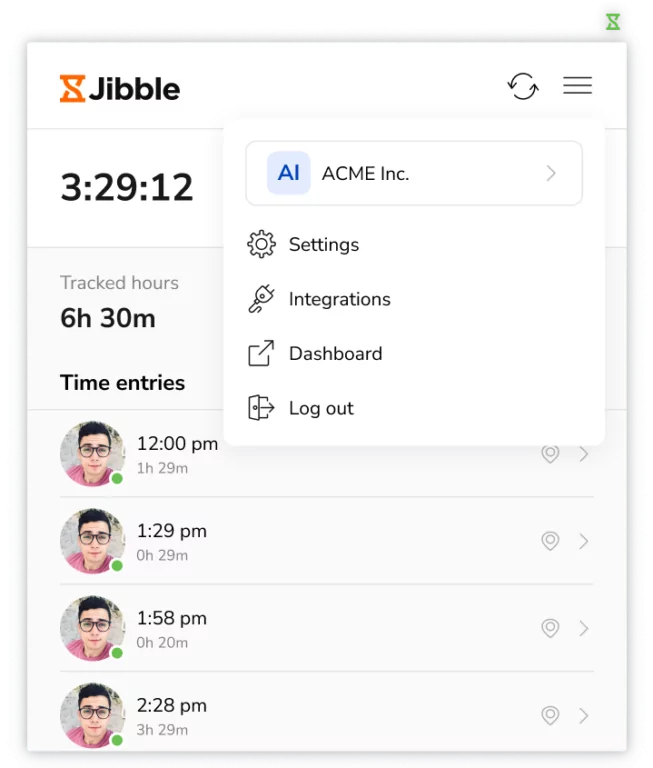
Here’s a shortlist of the options you will see:
- Account & Organization details
- Settings
- Integrations
- Dashboard
- Sign out
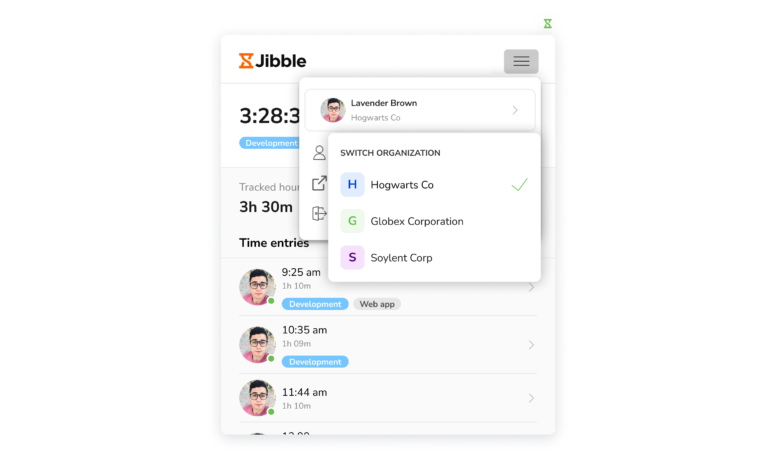
Account & Organization Details
If you are part of more than one organization, you can switch between the different organizations. Click on the organization you wish to use to track time from.
Settings
Under Settings, you will be able to enable Keyboard Shortcuts. When Keyboard Shortcuts are enabled, you can use the shortcut command (Ctrl+Shift+s) from the keyboard to clock in. Once clocked in, use the same command (Ctrl+Shift+s) to clock out.
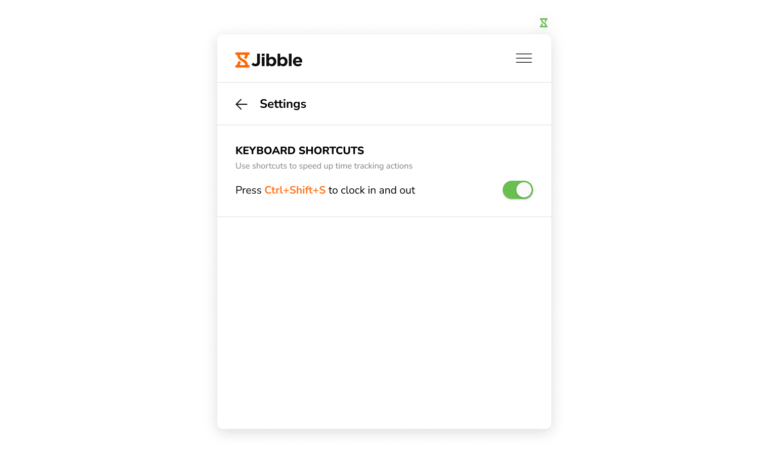
Alternatively, you can use the right click on your mouse for faster clock ins or outs. Simply right click on your mouse and select the Jibble option to clock in. Once clocked in, use the same right click and select the Jibble option to clock out.
Note: The previously used activity and project (if any) will be tagged when clocking in via keyboard shortcuts or right click. There will be no notes to be added.
Integrations
Under Integrations, you will be able to enable or disable integrations with Notion, Jira, and Google Docs (includes Google Sheets). 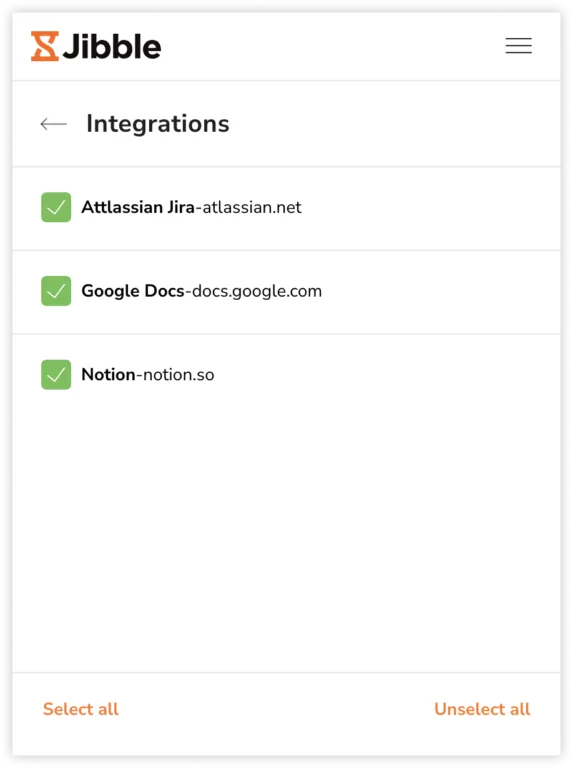
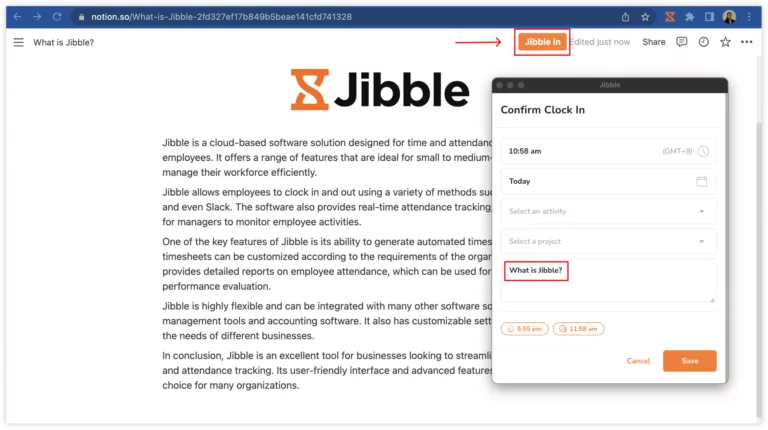
When enabled, you can use Jibble’s embedded timer to track time directly within these apps. Upon clocking in and out, notes will be prefilled based on:
- Page Title – Notion and Google Docs
- Ticket Title – Jira
Dashboard
To access more features via Jibble’s WebApp, click on Dashboard to get redirected to your Jibble WebApp Dashboard.
Sign Out
Click on Sign out to sign out of the Jibble Chrome Extension.