Managing locations & geofences
How do you add and manage locations, and set up geofences?

Fully harness Jibble’s employee GPS tracker by setting up authorised locations for your members to clock in and out of. By default, GPS data is recorded. Adding locations to your organization will let you assign, filter, and enforce geofences.
❗️ Important: Location tracking is only available on GPS enabled mobile devices.
This article covers:
Add locations
-
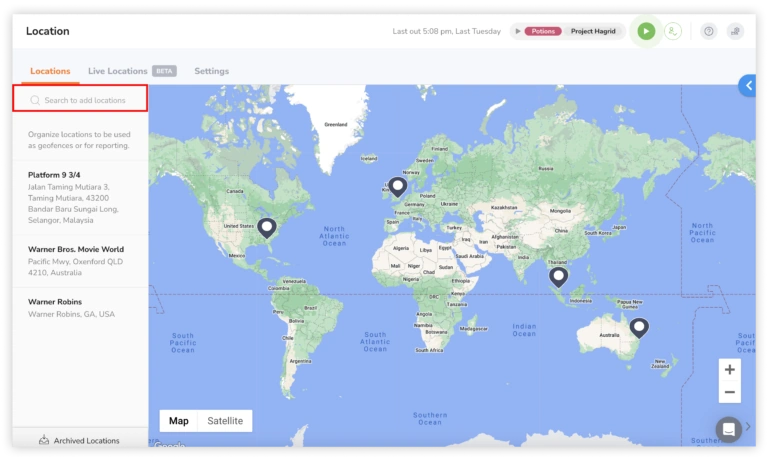
Go to Locations.
-
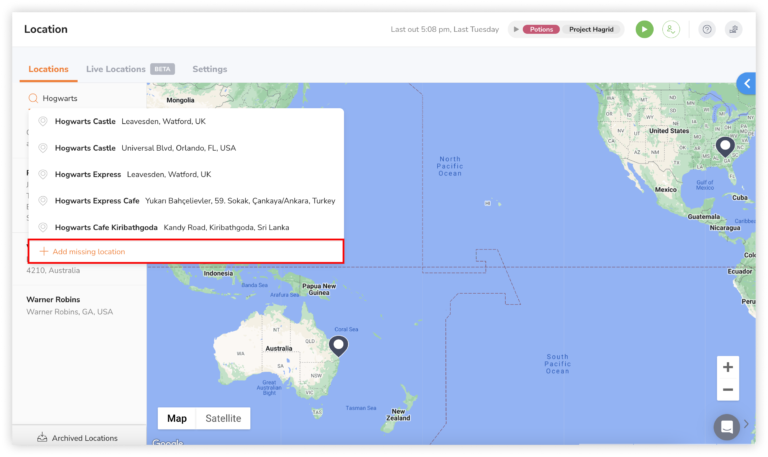
Enter an address in the search bar on the map.

-
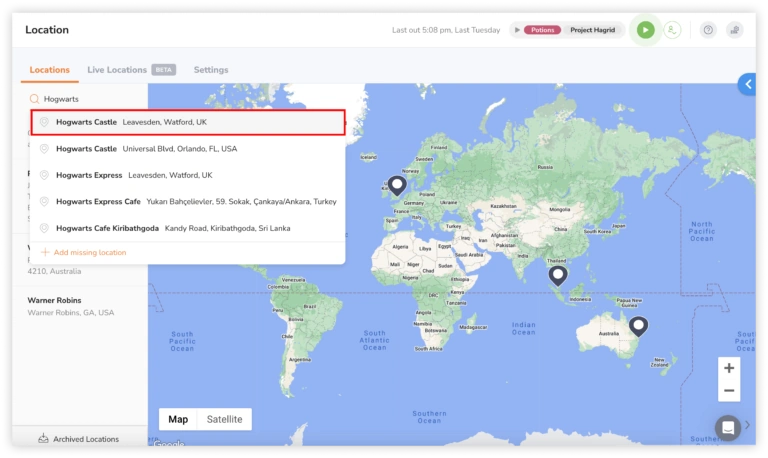
Select the full address from the search results.
-
If your address is not found, you will be given the option to add a missing address.
-
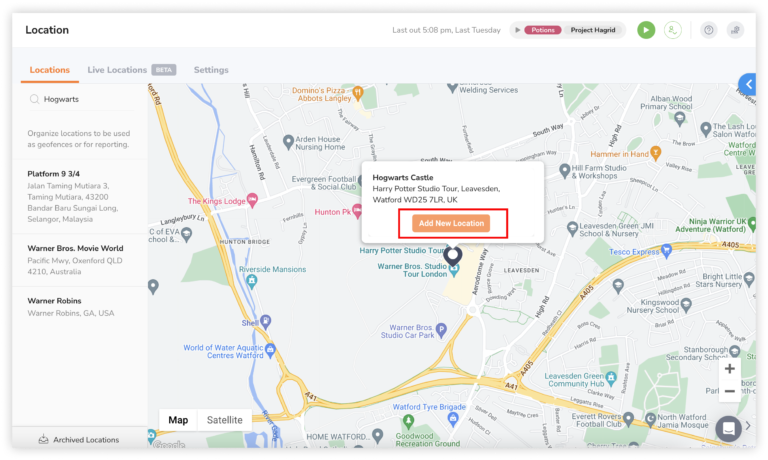
Click on Add New Location.
-
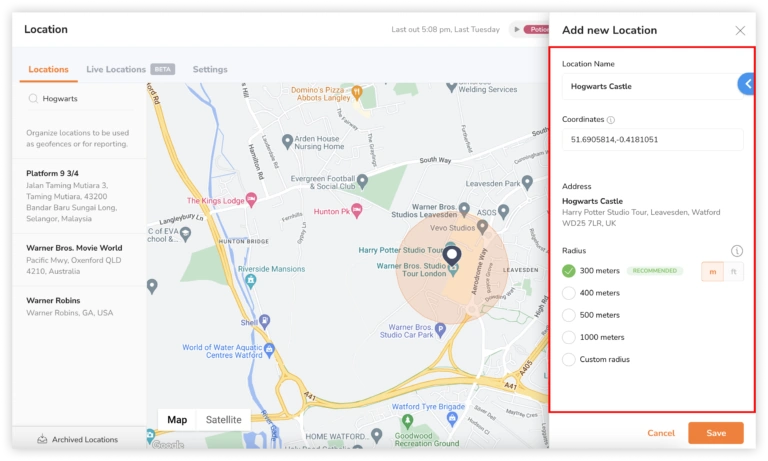
Fill in more details of the location.
-
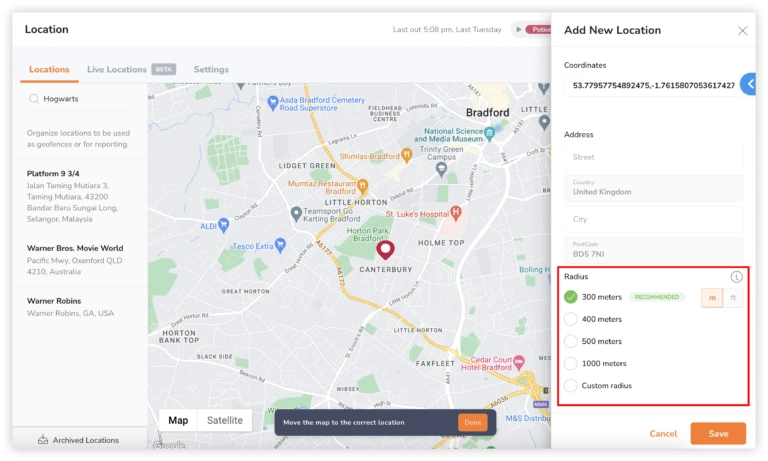
Select the radius of the location.
💡 Tip: We recommend radiuses to be set to 300 meters to power features such as Geofence Reminders.
-
Click the Save button.
Adding locations via coordinates
-
Go to Locations.
-
Enter an address in the search bar on the map.
-
A dropdown menu will appear. Click on the “add missing location” option. This will be listed as the last item of the dropdown list.
-
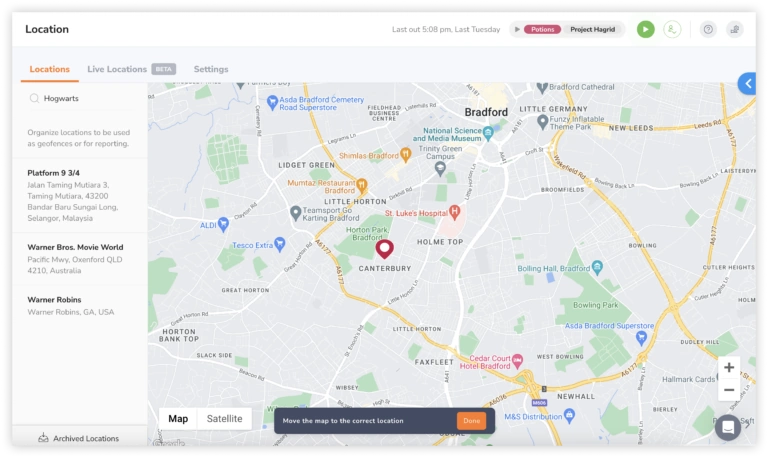
Drag and drop pin on the map for greater precision of where you want your location to be captured. When satisfied, click on Done.
-
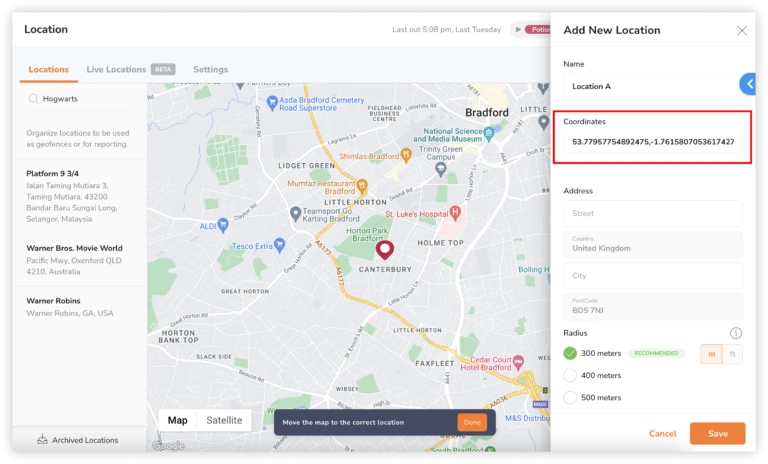
If you’re not satisfied, you can readjust your coordinates on the “Add New Location” sidebar on your right.
-
Edit the pre-filled coordinates and fill in the details of the location.
-
Select the radius of the location.
-
Click the Save button.
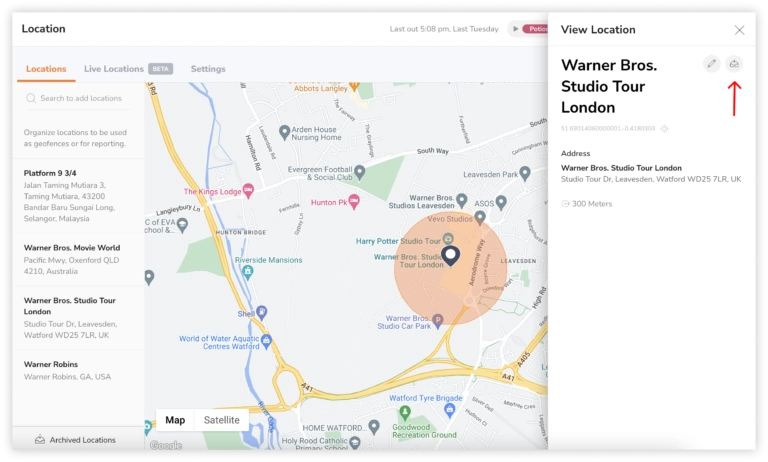
Edit locations
Change the name or address of a location. Past time entries with this location will not be affected.
-
Go to Locations.
-
Click on a location you wish to edit.
-
Click on the pencil icon to make changes.
-
Change the information as necessary.
-
Click Save.

Archive locations
If a location is no longer in use, they can be archived to hide them from time tracking and filter lists. Past time entries with this location will not be affected.
-
Go to Locations.
-
Click on a location you wish to archive.
-
Click the Archive button.
-
Confirm your action.
-
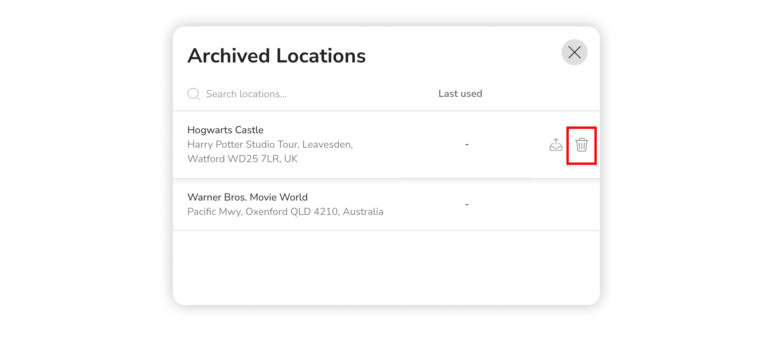
Click on Archived Locations to view the archived list.
Note: Archived locations can be restored at anytime.
Permanently delete locations
-
Go to Locations.
-
Click on Archived Locations to view the archived list.
-
Click on the Delete button on any location.
-
Confirm your action.
Read more about location tracking and restrictions:
How does GPS location tracking work?
Configuring time tracking policies